An easy-to-install mirror frame molding kits can be a rewarding DIY project that adds a touch of elegance to your home. However, it can also be daunting if you’ve never done it. This guide will walk you through the steps, providing tips and tricks to make the process as stress-free as possible.
Choosing the Right Kit
- Measure Your Mirror: Before purchasing a kit, measure the height and width of your mirror.
- Consider the Style: Choose a moulding kit that complements your mirror’s style and the room’s overall decor.
- Check for Compatibility: Ensure the kit is designed for your mirror type (e.g., framed, unframed).
Preparing for Installation
- Gather Tools: You’ll need a measuring tape, pencil, level, mitre saw or saw, wood glue, finishing nails, hammer, and a nail gun (optional).
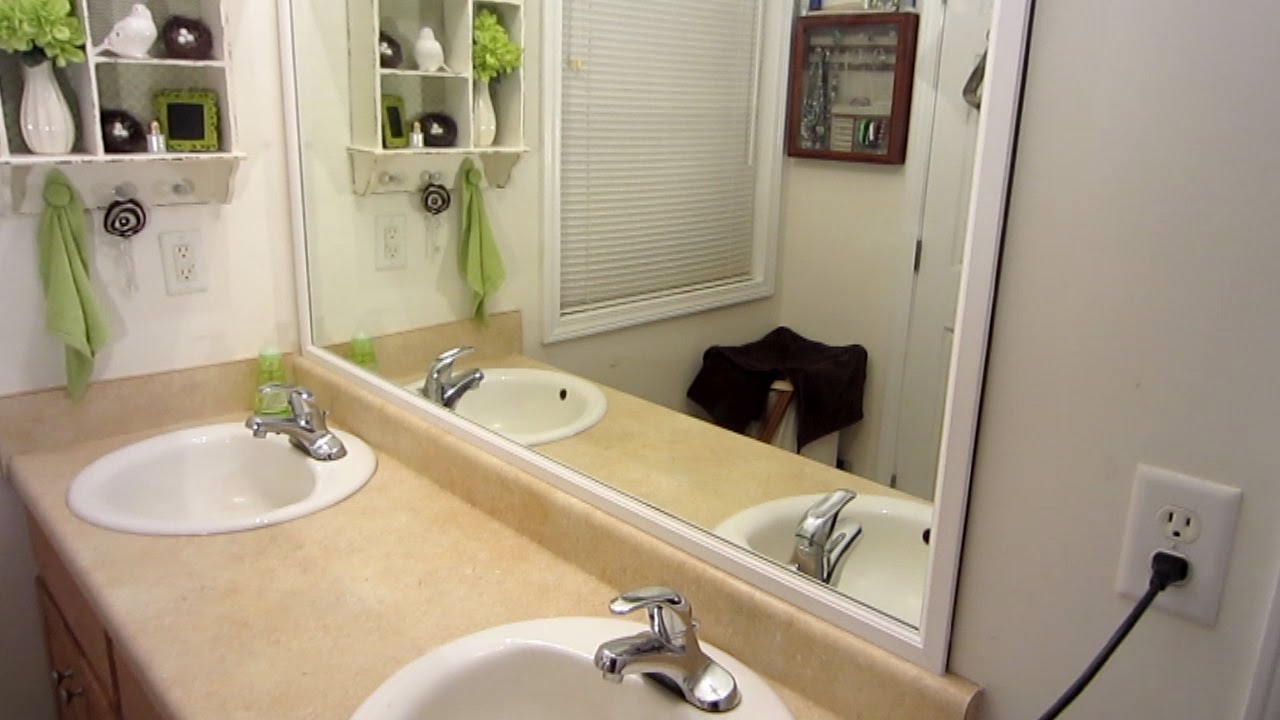
- Clear the Area: Remove any obstacles around the mirror to provide ample working space.
- Clean the Mirror: Wipe down the mirror to remove dust and grime.
Installing the Molding
- Measure and Cut: Use the measuring tape and pencil to mark the desired position of the moulding on the wall. Cut the moulding pieces to size using a mitre saw or saw, ensuring the corners meet at a 45-degree angle.
- Apply Glue: Apply wood glue to the back of the moulding pieces.
- Attach the Molding: Press the moulding pieces firmly against the wall, ensuring they are level and aligned. Finishing nails are used to secure the moulding.
- Nail the Corners: Carefully nail the corners of the moulding together to create a seamless finish.
- Fill Nail Holes: Use wood filler to fill nail holes and smooth the area.
Finishing Touches
- Paint or Stain: If desired, paint or stain the moulding to match your decor.
- Hang the Mirror: Carefully hang the mirror within the frame once the paint or stain is dry.
- Clean Up: Dispose of any leftover materials and clean up the workspace.
Tips for a Successful Installation
- Take Your Time: Rushing through the installation can lead to mistakes. Take your time and ensure each step is done correctly.
- Measure Twice, Cut Once: Double-check your measurements before cutting the moulding to avoid costly mistakes.
- Use a Level: A level is essential for installing the moulding straight and even.
- Practice Safe Handling: Avoid damage when handling the mirror and moulding.
- Consider Professional Help: If you’re unsure about your DIY skills or have a large or complex mirror, consider hiring a professional installer.
Troubleshooting Common Issues
- Gaps Between Molding Pieces: If there are gaps between the moulding pieces, check the angles of the cuts and ensure they meet at a 45-degree angle.
- Uneven Molding: Use a level to check the alignment of the moulding and adjust as needed.
- Difficulty Cutting Molding: A sharp blade on your saw can help prevent splintering and ensure clean cuts.
Additional Tips for a Successful Installation
- Use a Quality Molding Kit: Investing in a high-quality moulding kit can make a significant difference in your project’s final appearance and durability. Look for kits made from durable materials and with precise cuts.
- Consider a Dry Fit: Before applying glue and nails, do a dry fit to ensure the moulding pieces fit together correctly and the corners meet at the desired angles. This can help you identify and correct any issues before making permanent changes.
- Use a Caulk Gun: In addition to nails, using a caulk gun to seal the gaps between the moulding pieces can create a more polished and finished look. Choose a caulk that matches the colour of your moulding or paint.
- Protect the Mirror: To prevent scratches or damage during installation, consider covering the mirror with a protective film or sheet.
- Consider a Backsplash: If installing a mirror in a bathroom or kitchen, consider adding a backsplash behind the mirror to protect the wall and create a more cohesive design.
Wrapping up
Following these steps and tips, you can successfully install a mirror frame moulding kit and create a beautiful and stylish addition to your home. Remember, patience and attention to detail are key to a successful installation.